

How to Replace Pinch Valve Tubing in a 2-Way Pinch Valve
Category:
One of the benefits of using a pinch valve is that you can quickly and easily replace the tubing. In this video, Attila Kiss demonstrates exactly how to change out the tubing in one of Clippard's 2-way NPV series pinch valves.
Video filmed at Clippard in Cincinnati, Ohio
VIDEO TRANSCRIPT:
Hi, I’m Attila Kiss, product manager of pinch valves and isolation valves here at Clippard. Today we’re going to talk about how to replace the tubing in our standard normally-closed pinch valve. Most of our pinch valves come pre-installed with one foot of tubing. The tubing is rated to one million cycles. Our solenoid valves are rated for several million cycles. It is easy and simple to change the tubing in a pinch valve, but you do have to follow certain steps.
This is a standard 24 volt valve. Step one, the valve is not energized. You would energize it at the full rated voltage. The valve turns on, you remove the tubing. Move the tubing to a different spot, taking care not to stretch the tubing as that will deform the tubing. De-energize the valve and cycle it a few times to ensure that the valve works correctly.
Those are the easy, simple steps that you need to replace the tubing in a pinch valve. If you have any special needs, please give us a call. Thank you for watching and don't forget to subscribe to our YouTube channel.
|
|
||||
|
Electronic Pinch Valves  |
Pneumatic Pinch Valves 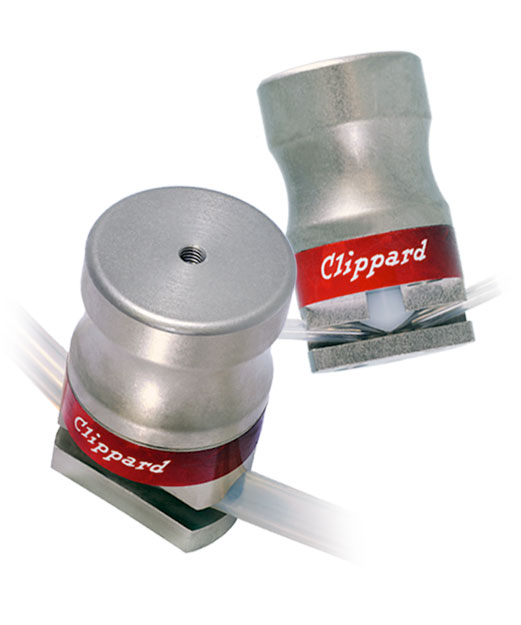 |
|||
Related Content


